What photogrammetry is
Photogrammetry is the technique of measuring the shape, size and position of objects from photographs. When the same point appears in two or more photos taken from different positions, its position in space is calculated by triangulation. With hundreds or thousands of overlapping photos, taken from a drone, an aircraft or on foot, you get orthophotos, point clouds, digital terrain models and true-to-scale 3D models.
The ASPRS (the American Society for Photogrammetry and Remote Sensing) defines it as the art, science and technology of obtaining reliable information about physical objects and the environment by recording, measuring and interpreting photographic images. Put more practically: the photo stops being just a picture and becomes a measurement.
Unlike LiDAR, photogrammetry is a passive technique: it emits nothing and uses the light that is already there. That makes it light and very efficient on open surfaces, and it also explains its limits, which we cover below.
How photogrammetry works
Tie points and triangulation
The principle is the same as seeing with two eyes. A tie point (or homologous point) is one and the same detail on the ground (the corner of a slab, a stone, a paint mark) identified in several photos. If you know where each photo was taken from and how the camera was oriented, you can trace the ray from each camera to that detail, and the point where the rays meet is its position in space. The more photos see it, and from more different angles, the better it is fixed.
Structure from Motion
Classical photogrammetry needed to know the position of each photo in advance and to mark points by hand. Modern photogrammetry uses Structure from Motion (SfM): the software automatically detects thousands of feature points in each image, matches them across photos and solves the camera positions, their calibration and the point coordinates all at once. The paper by Westoby et al. in Geomorphology (2012) describes how this approach turned photogrammetry into a low-cost tool for surveying terrain.
Why overlap matters
For tie points to exist, every part of the ground has to appear in several photos. That is why a photogrammetric flight is planned with high overlap: forward overlap between consecutive photos in the same strip and side overlap between neighbouring strips. As a reference, Pix4D generally recommends at least 75% forward and 60% side overlap, and 85% and 70% in forests and dense vegetation, where canopies change a lot from one photo to the next.
From relative to real: scale and georeferencing
From photos alone, the model has the right shape but does not know how big it is or where it is. Scale and coordinates come from two sources, usually combined: ground control points (targets surveyed with RTK GNSS) and the position of each photo recorded by a drone with RTK or PPK (GNSS correction in real time or in post-processing). A separate set, the check points, is kept out of the calculation and used to verify the final accuracy.
Types of photogrammetry
Aerial photogrammetry with a drone
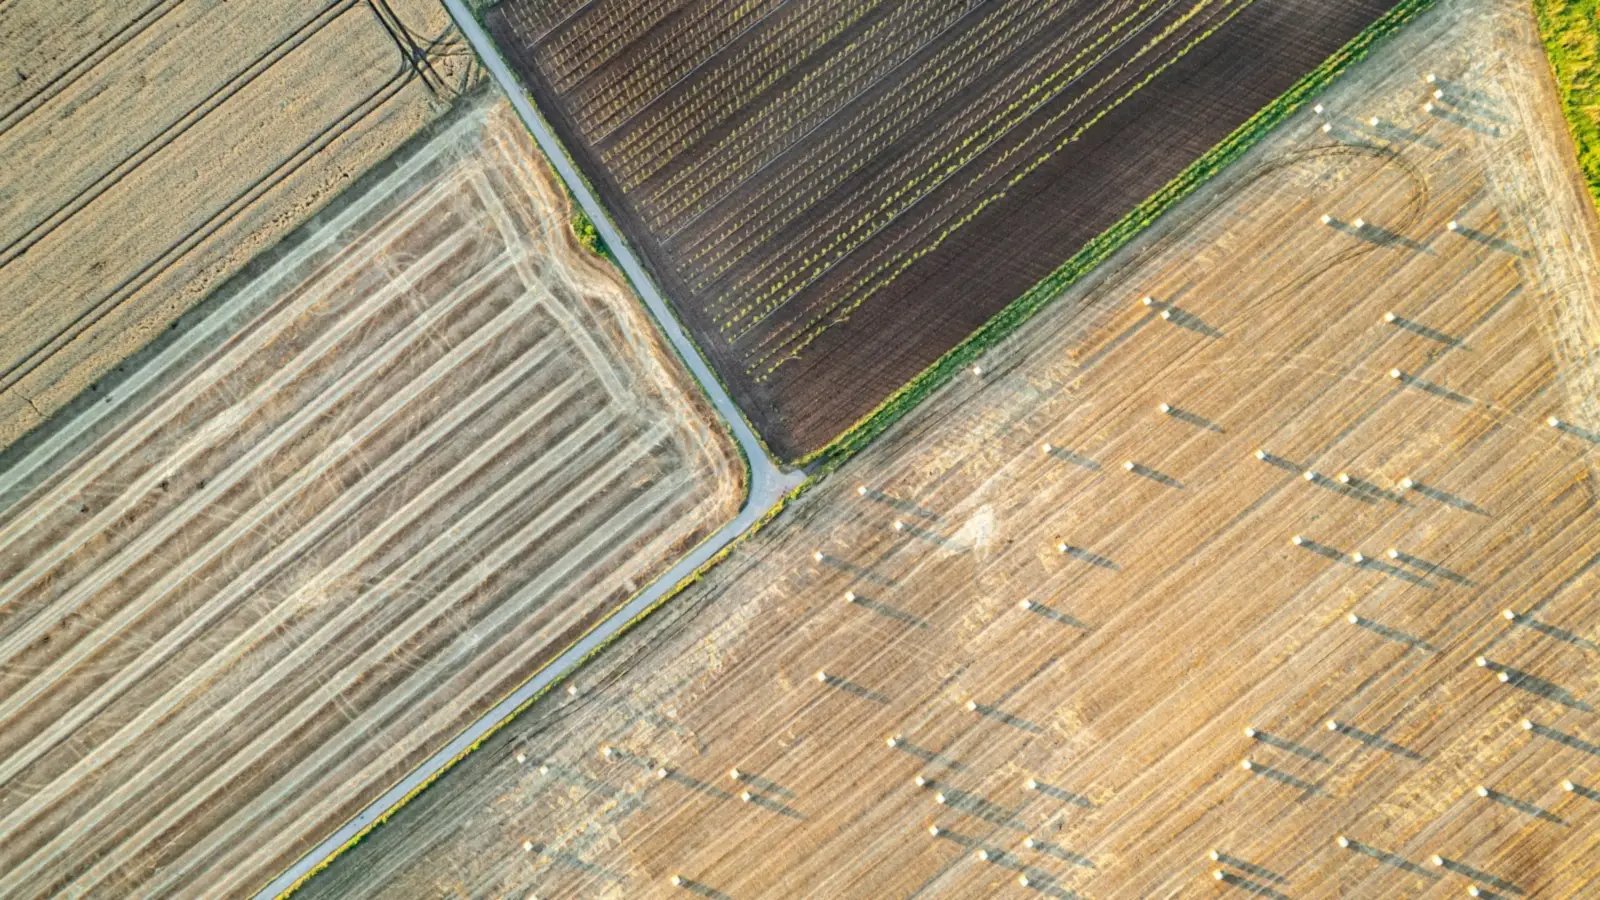
The most widespread today in surveying and construction. The drone flies an automatic plan a few dozen metres above the ground, with a pixel size of a few centimetres, and covers in a day what would take weeks on foot: on our projects, up to 400 ha in a single day. It allows vertical (nadir) photos for orthophotos and DTMs and oblique photos for façades, slopes and 3D models. This is our drone photogrammetry service.
Aerial photogrammetry from aircraft
Large-format metric cameras hundreds or thousands of metres up, to map regions or whole countries. It is the basis of official orthophotos: in Spain, for example, the IGN's PNOA programme produces orthophotos with a 25 cm or 15 cm pixel depending on the area. They work as context mapping, not for measuring a plot to the centimetre.
Terrestrial or close-range photogrammetry
The camera is hand-held, on a pole or on a tripod, close to the object. It is used for façades, sculptures, parts, archaeological excavations and heritage elements, and at lab scale for industrial parts. Indoors and in complex installations, laser scanning usually performs better, since it depends on neither light nor texture.
The photogrammetric flight, step by step
1. Flight plan
Everything starts with deciding what needs to be measured and in how much detail. That sets the GSD (Ground Sample Distance, the ground size represented by each pixel), and the GSD sets the flight height: with the same camera, flying twice as high doubles the pixel size. Overlaps, strip direction, the need for oblique photos and the time of day (to avoid harsh shadows) are fixed. In the same phase the airspace is checked and the permissions for the area are obtained.
2. Ground control
Ground control points (GCPs) and check points are placed and surveyed with RTK GNSS, spread across the whole area and not only in the middle. With an RTK/PPK drone fewer are needed, but check points should not be dropped: they are the only independent proof of accuracy.
3. Capture
The drone flies the plan automatically, with speed and shutter timing calculated to keep the overlap. Photos are checked on site before packing up: an area with no overlap or with blurred photos cannot be fixed back at the office.
4. Processing
- Alignment: SfM matches the photos and calculates the position of each camera.
- Adjustment to ground control: the block is scaled and georeferenced.
- Dense cloud: millions of coloured points are calculated.
- Mesh and texture: the continuous 3D model, with the photo projected onto it.
- DSM and DTM: the surface model (with buildings and vegetation) and the bare-earth terrain model.
- Orthophoto: the perspective-corrected mosaic, which can be measured like a map.
5. Quality control and delivery
The model's coordinates are compared with those of the check points and the error is documented in the report. The outputs are then delivered in open formats.
What you get from photogrammetry
- Orthophoto in GeoTIFF: an image free of perspective distortion, with uniform scale and coordinates.
- DSM and DTM: surface and terrain elevation models, in GeoTIFF or mesh formats.
- Contour lines and profiles derived from the DTM, in DXF or DWG.
- Dense coloured point cloud, in LAS/LAZ or E57 (on our flights, close to 9.7 million points per hectare). We explain it in what is a point cloud.
- Textured mesh or 3D model (OBJ, FBX, 3D Tiles) of buildings, quarries or sites.
- Measurements: stockpile and earthwork volumes, areas, distances.
To review and share it without installing anything or moving gigabytes around, VisionHub opens the orthophoto, the point cloud and the 3D model in the browser.
Accuracy: what to expect
These are the figures we work with in drone photogrammetry. The accuracy of each project depends on the GSD, the flight geometry and the ground control:
- No RTK and no ground control: georeferencing relies on the drone's GPS; fine for visual inspection, not for measuring in coordinates.
- Reference accuracy of our flights: around 5 cm.
- Flight supported by GCPs surveyed with RTK GNSS: 2-3 cm.
- Orthophoto: on our flights, 3.2 cm per pixel.
Do not confuse resolution (pixel size or point cloud density) with accuracy (how close each coordinate is to the real one). An orthophoto with a very fine pixel but poor ground control can be shifted by far more than one pixel. The figure that matters is the one from the check points: always ask for the report.
Photogrammetry vs LiDAR
Both produce point clouds and terrain models, but by different routes. LiDAR measures distances with its own laser; photogrammetry calculates them from photos. We tell the story from the other side in what is LiDAR.
| Photogrammetry | Drone LiDAR | |
|---|---|---|
| How it measures | Geometry calculated from overlapping photos | Distance with its own laser |
| Terrain under vegetation | No: it only sees the canopy | Yes, with multiple returns |
| Smooth or textureless surfaces | Poor: tie points are missing | Good (water aside) |
| Light | Needs good light | Independent |
| Colour and orthophoto | Excellent | If a camera is added |
| Accuracy with control | 2-3 cm with GCPs | 2-3 cm with RTK or control points |
| Best for | Orthophotos, open quarries and sites, roofs, façades | Wooded terrain, power lines, linear infrastructure |
The useful question is not which is better, but what is on the site. If there are trees and you need the ground, drone LiDAR; if the area is open and you want an orthophoto, photogrammetry. Many projects fly both.
Photogrammetry vs Gaussian Splatting
Gaussian Splatting also starts from photos and is often confused with photogrammetry. Introduced by Kerbl et al. in 2023, it represents the scene with millions of Gaussians optimised to reproduce how it looks from any viewpoint, with reflections and transparency that a photogrammetric mesh does not capture. But it is not designed for measuring. Photogrammetry gives you the dimensions; splatting, the visual experience. They work well together.
What photogrammetry is used for
- Surveying: DTMs, contour lines and mapping of plots and estates. More in what is a topographic survey.
- Civil works and building: progress monitoring, earthworks, volume calculations, as-built of site works.
- Mining and quarries: stockpile and face volumes, extraction control.
- Heritage and archaeology: façades, sites and singular elements with real texture.
- Cadastre and planning: up-to-date orthophotos, built areas, boundary surveys.
- Inspection: roofs, warehouses and hard-to-reach façades without lifting equipment.
- Agriculture and environment: orthophotos and surface models of crops, riverbeds and coastlines.
Photogrammetry software and equipment
Photogrammetry equipment comes down to three pieces: a camera of known quality (built into the drone, large-format on an aircraft or a DSLR on the ground), a GNSS positioning system (RTK/PPK on the drone, a receiver for the ground control points) and processing software.
The most widespread programs in the sector are Agisoft Metashape, Pix4D, RealityScan (formerly RealityCapture, renamed by Epic Games in 2025) and DJI Terra, and among open-source options, OpenDroneMap. They all apply the same principle; the differences lie in control over the adjustment, speed and quality reports. Frankly: the program matters less than the flight plan and the ground control. No software can rescue a flight with too little overlap or without check points.
Summary table
| Type | Platform | Indicative resolution or accuracy | Best for |
|---|---|---|---|
| Aerial from aircraft | Aircraft with metric camera | 25 or 15 cm/pixel orthophoto (PNOA) | Context mapping, territory |
| Aerial with drone | Drone with RTK/PPK and GCPs | ~5 cm; 2-3 cm with GCPs | Surveying, construction, quarries, orthophoto |
| Drone with obliques | Drone, tilted camera | Centimetre-level | Façades, slopes, 3D building models |
| Terrestrial / close-range | Hand-held, pole or tripod camera | Depends on distance and camera | Heritage, parts, excavations |
How to commission a photogrammetry job
At LAURIA ESCÁNER we do the whole job: we plan the flight, survey ground control with RTK GNSS, fly, process and deliver the orthophoto, DTM, point cloud and 3D model in open formats, with the accuracy report. We are a drone operator registered with AESA, the Spanish aviation authority; the registration is valid in every EASA state, and outside Spain we obtain permissions from each country's aviation authority. We are based in Madrid and work across Europe.
Tell us which area needs measuring, what for and to what accuracy: we will tell you whether photogrammetry is enough, whether LiDAR is a better fit or whether combining both is best. Full details on our drone photogrammetry service.